
Originally posted on adamfowlerit.com Automating the change of Internet Explorer 10’s default search engine from Bing to Google shouldn’t be a difficult task, but it is. I’ll first cover what we’re trying to automate, then the possible options on how to do it. I found a lot of misinformation online when doing this too which was surprising, I’ll add notes in around what I found on that too. Brief instructions are down the bottom if you just want to know what to do! To do this manually on an individual PC, you need to do two things. Install the Search Provider addon, and then set it as the default. The first part can be done by going to the iegallery website and finding an Add-on, for Google Search you can go here: http://www.iegallery.com/en-us/Addons/Details/813 and click the big ‘Add to Internet Explorer’ button. Setting it as the default is possible from the popup when clicking the button, or going into your Add-ons and ticking the right search engine as your default. Google provides some very basic instructions here https://support.google.com/websearch/answer/464?hl=en which are: Internet Explorer 10 Click the Gear icon in the top right corner of the browser window. Select Manage add-ons. Select Search Providers. In the bottom left corner of your screen, click Find more search providers. Select Google. Click the Add to Internet Explorer button. When the window appears, check the box next to Make this my default search provider. Click Add. So far this is incredibly simple! If you were starting from scratch, you can package up IE10 using the Internet Explorer Administration Kit (IEAK) and add in extra search engines as well as specify the default. There’s a good guide at 4syops here http://4sysops.com/archives/internet-explorer-10-administration-part-4-ieak-10/ which covers this, but doesn’t help you if PCs already have IE10, or will get it via other means (e.g....
Practical Group Policy
posted by Adam Fowler
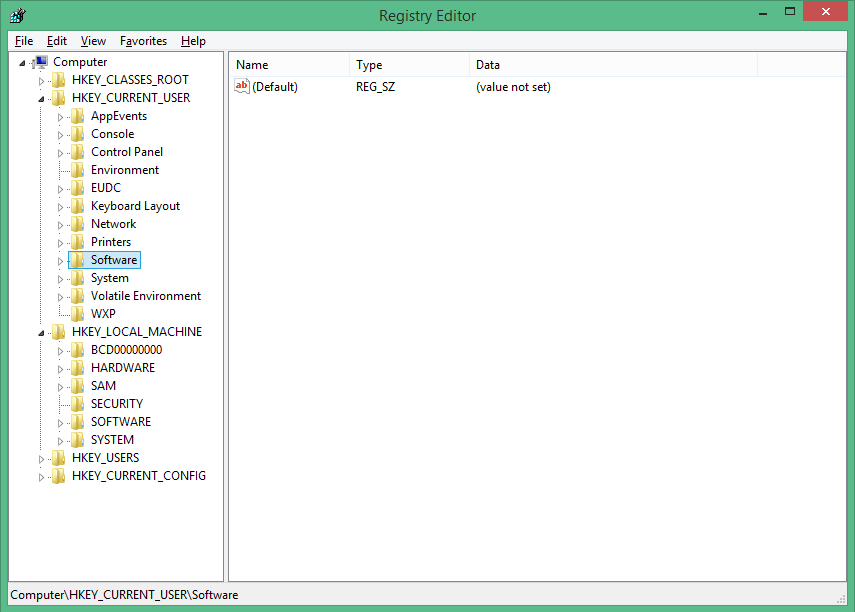
Normally when you think of Windows Registry, you’re normally worried about the two sections: HKEY_LOCAL_MACHINE (HKLM) and HKEY_CURRENT_USER (HKCU). It’s fairly obvious that settings under each area apply to either the PC itself (machine) or just to the currently logged in user. This is usually fine, but there are scenarios where there’s a setting that will only apply to a machine due to how the program is written, but you actually want to turn it on or off based on the logged on user. With Group Policy Preferences (GPP) which was introduced with Windows Server 2008, this is much easier to do. Before this, you would have need to have written complex logon scripts using 3rd party tools to perform lookup commands, create variables and then adjust the registry accordingly, while providing administrator credentials. GPP lets you apply registry settings rather easily. One of the main benefits of GPP is how flexible and granular you can be with the settings you apply. This is how I would normally use to deploy a setting, but have it easily managable: Have two settings for the registry, one setting it on and the other off (normally done by a 1 for on, 0 for off but it depends on the setting). The targeting for having the setting on or off is based by user membership to an Active Directory (AD) group, but the setting is not applied in the user context meaning it’s applied by ‘System’ which will have full access to the HKLM registry. This will then mean the HKLM setting changes from 0 to 1 and back based on which user logs in! I prefer this than just applying particular users individually to the item because it will reduce processing time having a single check...